Princess Tiara Cake
4 Hours
10 Minutes Total
18 Servings
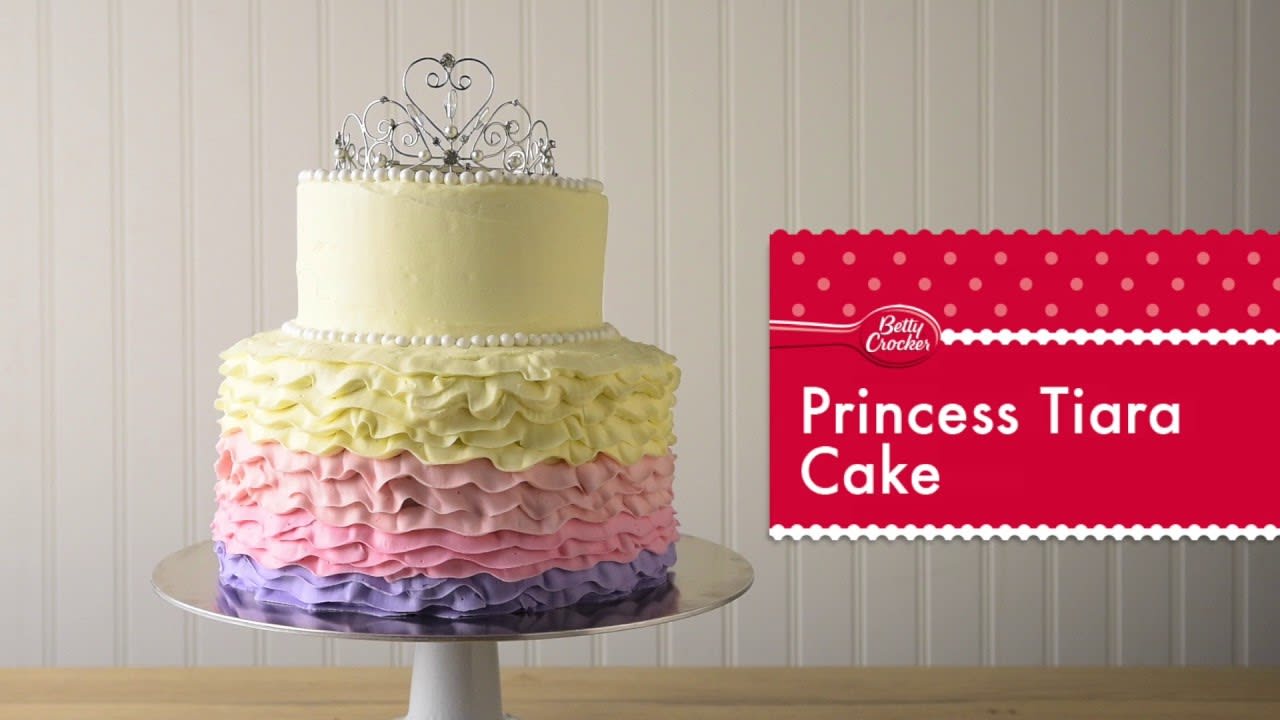
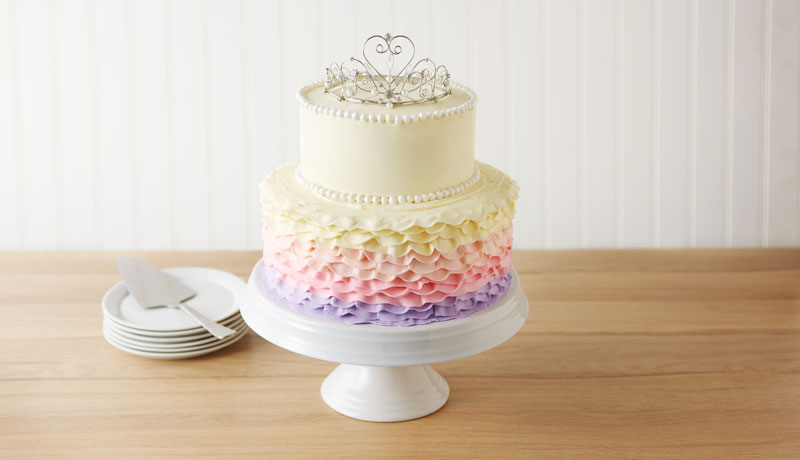
Topped with our Betty Crocker™ Vanilla Icing try this beautiful & delicious Princess Tiara Cake recipe – a spectacular treat for special occasions & birthdays.
Ingredient List
Cake
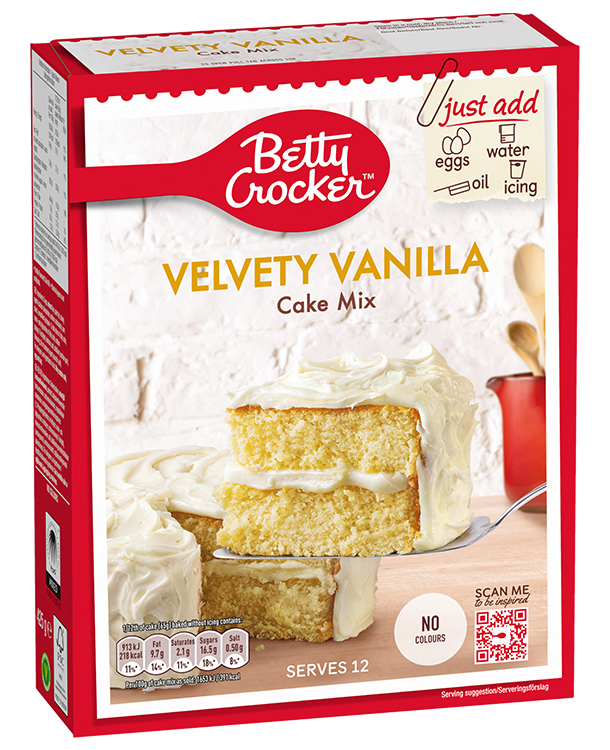
- 2 boxes Betty Crocker™ Velvety Vanilla Cake Mix
- 180 ml vegetable oil
- 360 ml water
- 6 medium free range eggs
- 100 g white chocolate baking bar, melted
Topping and Filling
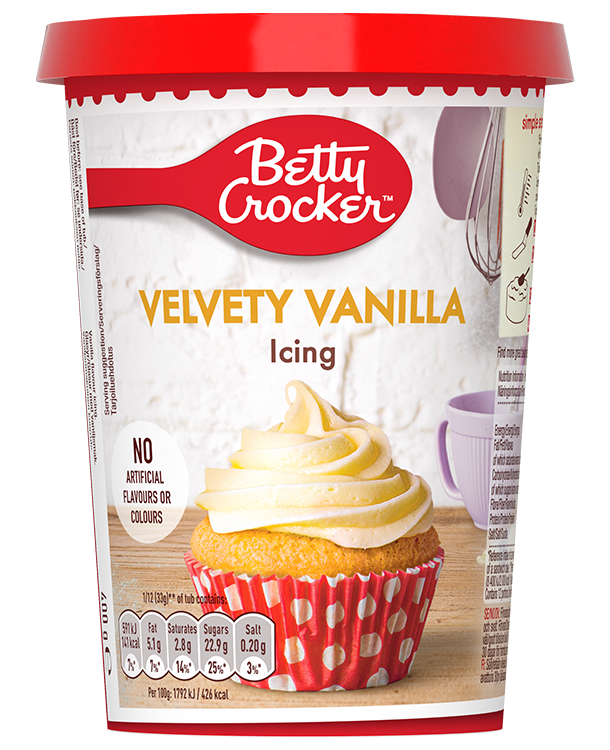
- 4.5 tubs Betty Crocker™ Vanilla Icing
- Violet gel food colouring
- Pink gel food coloring
- White pearl sugar balls
- Small tiara
Preparation
- Preheat oven to 180°C (160°C for fan assisted ovens)/Gas Mark 4. Well grease 3x8-inch round cake tins and 2x6-inch round cake tins.
- Mix the cake mix, oil, water and eggs gently together in a large bowl. (Both boxes can be made at one time; do not increase whisking time.) Whisk (by hand or electric mixer) for 2-3 minutes until smooth and creamy. Fold in the melted white chocolate.
- Pour 400g batter in each 8-inch round tin. Spread remaining batter evenly between 6-inch round tins.
- Pour Bake in the centre of the oven 8-inch tins for 24-28 minutes; 6-inch tins 18-22 minutes or until a rounded knife inserted into the centre of the cake comes out clean. Leave in tins for 10 minutes. Remove from tins to cooling rack. Cool completely, about 1 hour. Trim off rounded tops of cake layers if needed.
- Add a dab of icing in the centre of the cardboard round to keep the cake in position. Place first 8-inch cake layer, bottom side down, on the plate. Spread with 140g of the vanilla icing. Place second 8-inch cake layer on top of the first. Spread with 140g of the icing. Top with last 8-inch cake layer. Ice top and sides with thin layer of icing to cover cake. Place in refrigerator for 30 minutes to harden.
- Cut out with scissors a 6-inch cardboard round for the bottom of the smaller cake. Place a small amount of icing on the centre of cardboard round to hold cake in place. Place first 6-inch cake layer bottom side down, on the cardboard round. Spread with 75g of the vanilla icing. Place the second 6-inch cake layer on top of the first. Ice the top and sides with thin layer of icing to cover cake. Place in refrigerator for 30 minutes to harden.
- Colour the remaining icing by placing 125g of icing into each of the 3 small bowls. In the first small bowl, mix 125g icing with violet food colouring to the desired level of violet. In the second bowl, mix 125g of icing with the pink food colouring to the desired level of pink. In the third bowl, add a little less pink food colouring to create a softer shade of pink.
- Remove the 8-inch iced cake from the refrigerator, and spread a thick coat of vanilla icing on top, making a smooth surface.
- Fit a piping bag with a large petal nozzle. Fill the bag with the violet icing. Begin at the base of the cake with the wide end of nozzle against the side of the cake with the thin end pointing out. Pipe using a slow even up and down long zig-zag motion to create a loose ruffle along the bottom edge of the cake, turning cake as needed. Pipe 3 complete rows of violet ruffles, one row on top of another, going up the side of the cake. Fill the same bag with the darker pink icing, and repeat piping to create 3 complete rows of darker pink ruffles. Repeat steps with lighter pink icing. When all 9 rows of coloured icing ruffles are piped, squeeze any remaining coloured icing out of bag (if any).
- Clean the petal piping nozzle and then fit to another piping bag.
- Fill the bag with 125g of uncoloured vanilla icing, and finish piping ruffles to top edge of the cake. Return to refrigerator while finishing smaller cake.
- Remove the 6-inch iced cake from the refrigerator. Spread a thick layer of vanilla icing onto the top and sides of the cake aiming for a smooth, crumb-free finish.
- Stack the smaller cake carefully in the middle of the larger cake. Place the pearls in a circle around the base and top edge of smaller cake. Top with tiara to complete the look.
